Saturday 26 November 2011

Starting Animation

Using my 2D animation as a timing reference, I’ve now started to animate my character. I’ve done the key poses and now I can start to fill in the rest of the animation.
I’ve also started work on the camera angles. I’ve set 2 of my cameras up and I’ve started to animate the 1st camera.
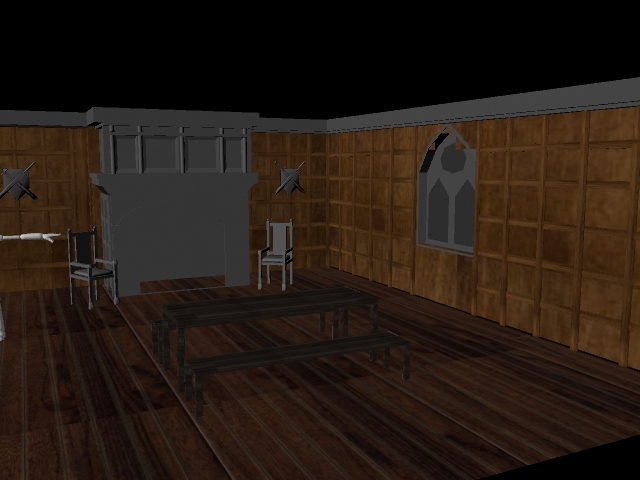
Here are a couple of renders of my camera angles as they are now:


This camera is animated and pans across the room. This is the angle the camera finishes on.


This is a static camera, but shows the animation from another angle. I will cut to this camera later in the animation.

Wednesday 16 November 2011

2D Animation

I’ve now finished my 2D animation using Adobe Flash. I’ve been doing this alongside building my interior. As well as giving me an idea of what the 3D animation will look like when it’s finished, it should help me to plan out my animation in Maya.
This is my 2D animation:

Sunday 6 November 2011

Texturing Complete!

I’ve added all the textures to my scene now. Doing the swords and shields was a challenge, because I had to get everything in the right place in Photoshop.
When I started adding texture to the fireplace, I noticed that I needed to do some extra modelling to create an inside to the fireplace so I could apply a texture to the inside. I also extended the base of the fireplace to create a hearth. After I’d sorted this out, I added a stone texture to the hearth and a brick texture to the newly created inside of the fireplace.

It’s been a bit difficult at times but I’m happy with the final result.
My fully textured scene:


Friday 4 November 2011

Chairs

Texturing the chairs was quite difficult. This involved more complex UV mapping because the polygons that make up the chair aren’t all simple cubes, so I had to be extra careful in Photoshop to get the textures right in Maya.
This is what I ended up with

Thursday 3 November 2011

Texturing

Now I’ve finished my model, I’ve started UV mapping and texturing my scene. With some help, I’ve already done the walls, floor and table & benches.
I had a few difficulties trying to get the wood grain the right way around when I was applying the textures; I had some trouble understanding what was what on the UV snapshot, but I worked it out eventually. It was also difficult to get the sizing right- I had to tile the image in Photoshop to get the pixels the right size so the texture was a better quality. I think it worked out quite nicely though, the wood looks fairly realistic.